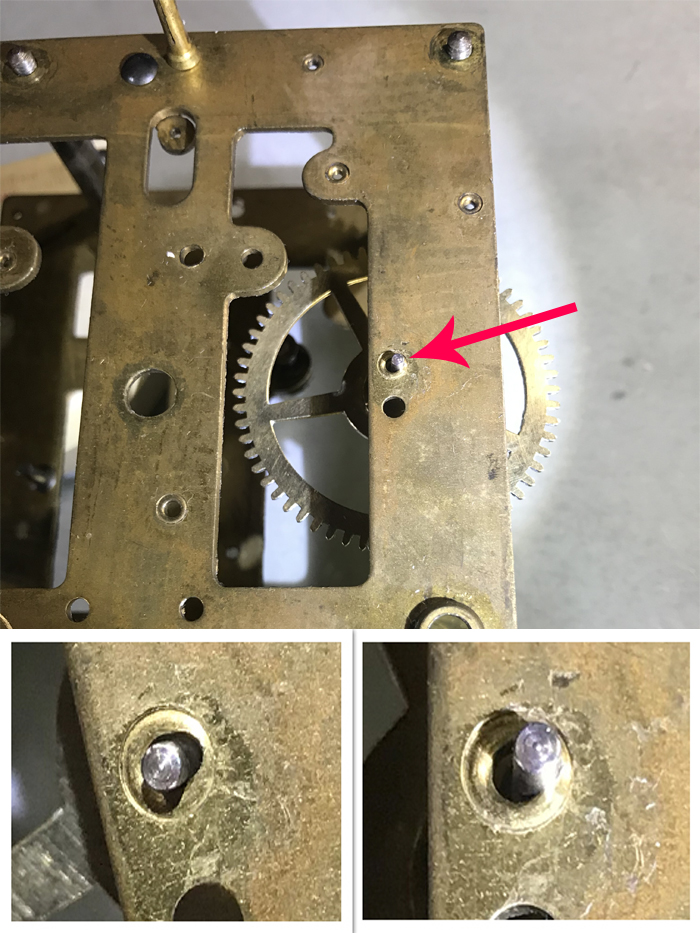
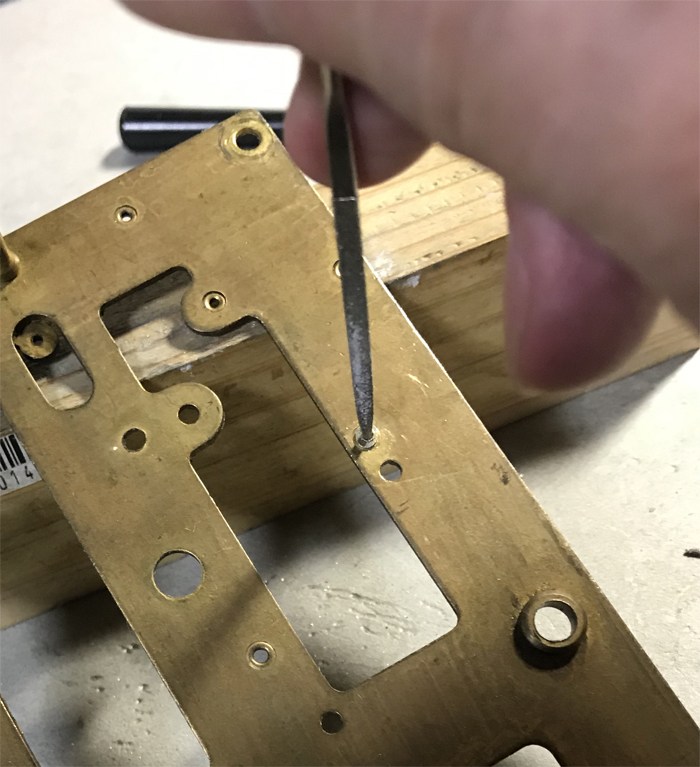
The indispensable thing to maintain clock machines is “correction of mortises”. Mortises have the most important role to support pivots of many gears which transport the strong spring power to gear to gear in the mechanism. Right photos are the deformed mortise which supports the second wheel in the time train. The mortise has been worn out widely to the direction of long time force. If this happens, the axis will be distorted and the gear will not be able to transport the power to the other gears in 100 percent. If some mortises on the plate become to be like this, the machine does not work correctly and it will be the cause of which time goes crazy. Therefore, I tried correcting the mortise. If it is a small deformation, it will be crimped by a punch, but since the deformation of this mortise is a little bit larger, I decided to correct it with the “hub method” this time. Even so, I could not get ready-made hub parts, and I do not have any machines like lathes. It is a challenge in such a situation.
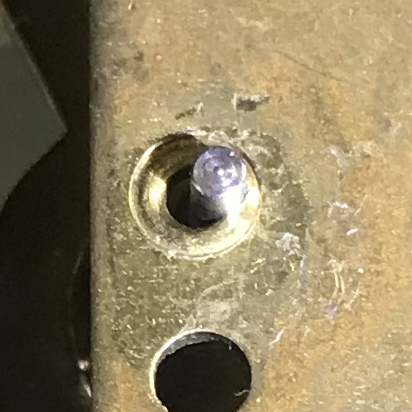
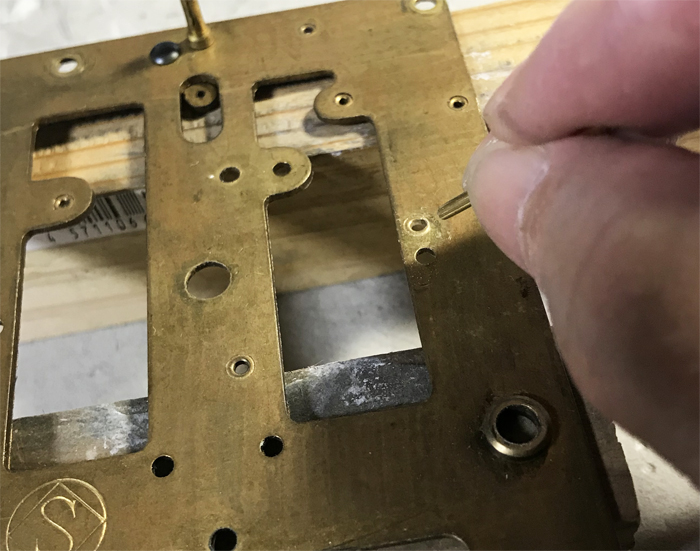
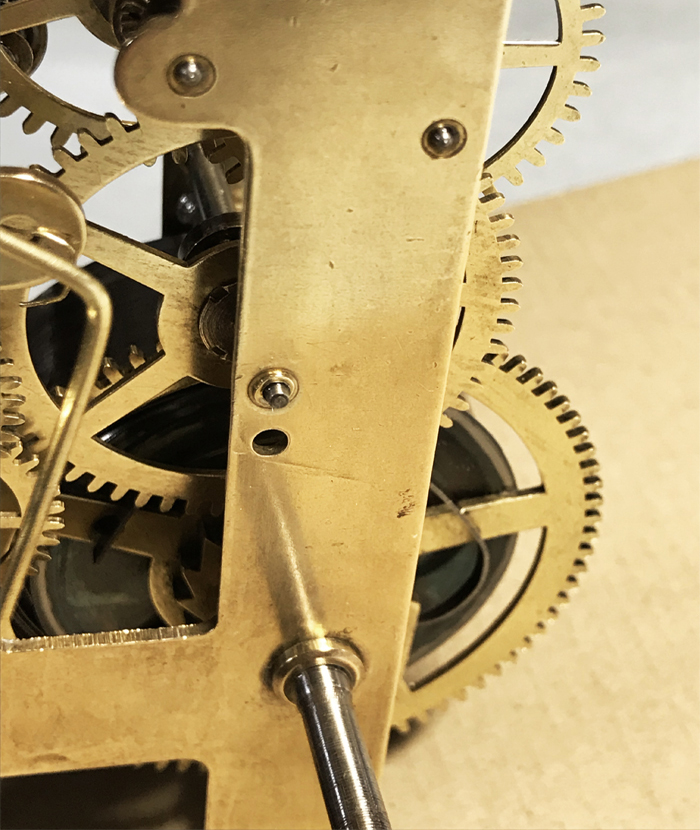
Instead of using a drill, filing the mortise little by little according to the diameter of the pipe using the actual pipe. This time, it is important to find out the original location of the center of the pivot. (below)
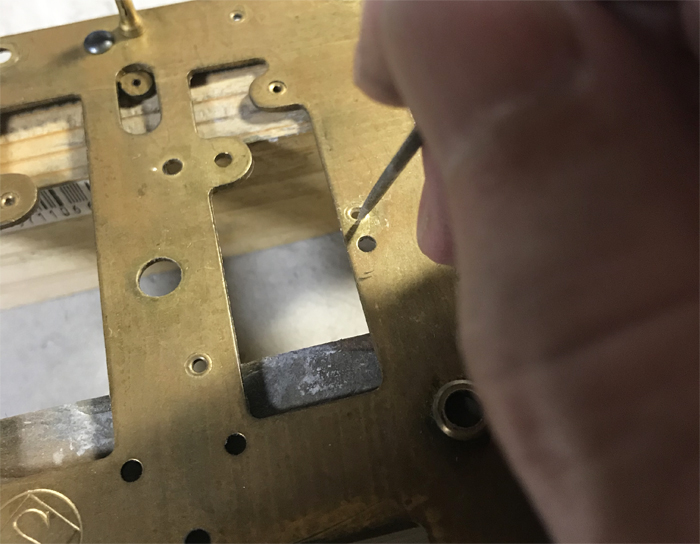
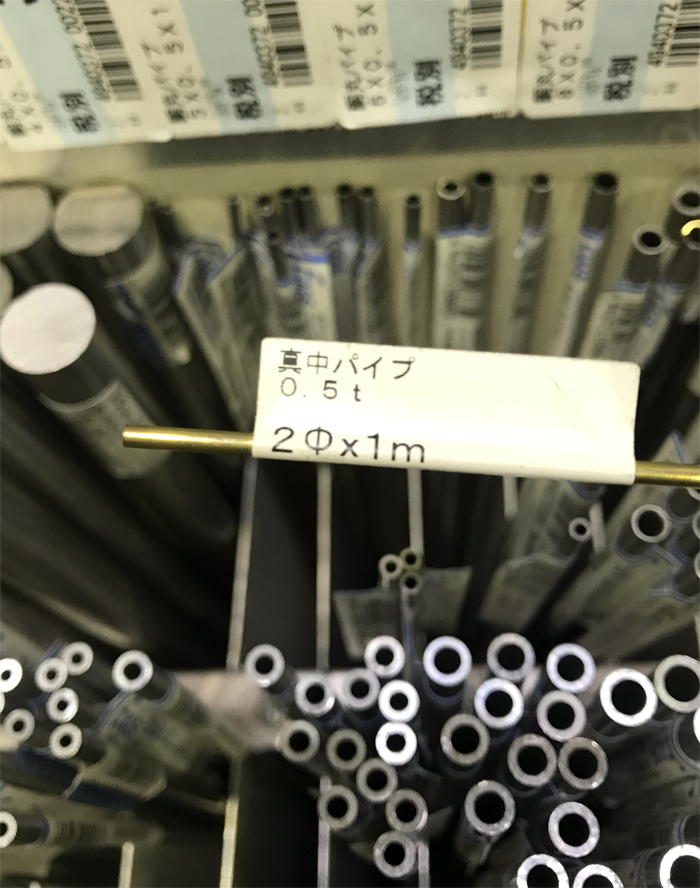
右は、パイプと径を合わせているところです。
Right photo shows adjusting the diameter with the pipe.
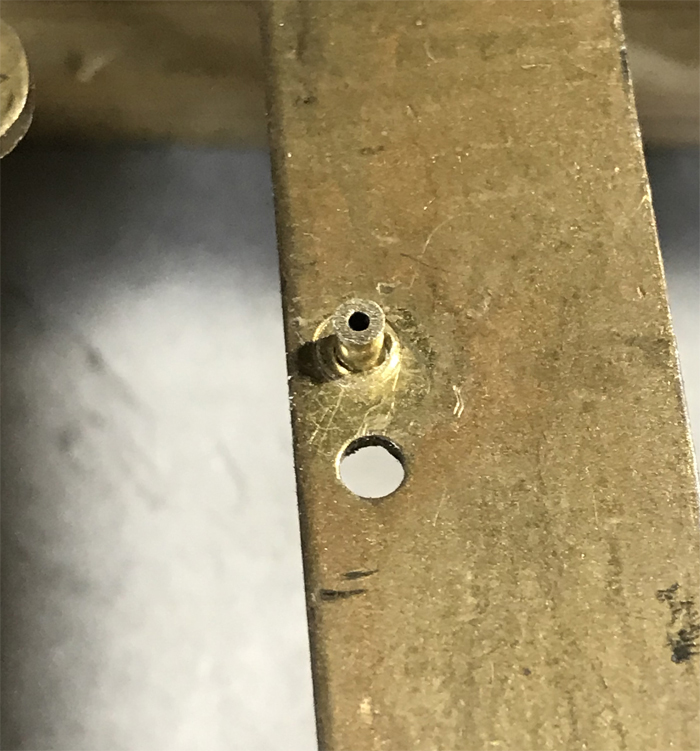
The diameter of the pivot is about 1,8mm. Let’s begin to make a suitable hub part in the situation without any tools. The result of trial and error, I’ve decided to use this one which I found at a home improvement store. It’s a brass pipe.
Left= This time, gradually widen the hole with a file according to the actual gear pivot. *It is important to make a little bit margin between the pivot and the mortise. (When we stand the gear in the mortise, it is reasonable to get a tilt of 5 to 10 degrees as below.)
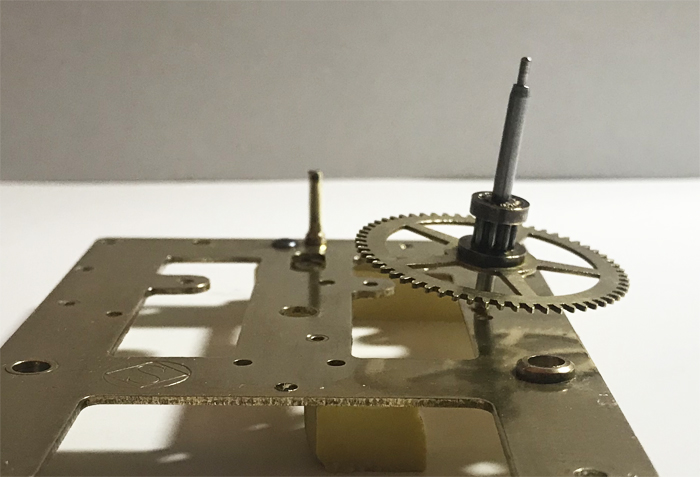
時間車列、第二歯車のほぞ穴修正 The mortise correction (the second wheel in time train)